Creative Movement at Home: Driving Around the Town
This fun creative movement activity provides gross motor movement as well as helps to improve your child’s directional language.
MATERIALS
Medium sized cardboard box
Ribbon, string or old pantyhose
Paint or crayons or markers
Construction paper
Paper plates ( optional as you can use paper for the wheels as well)
Glue
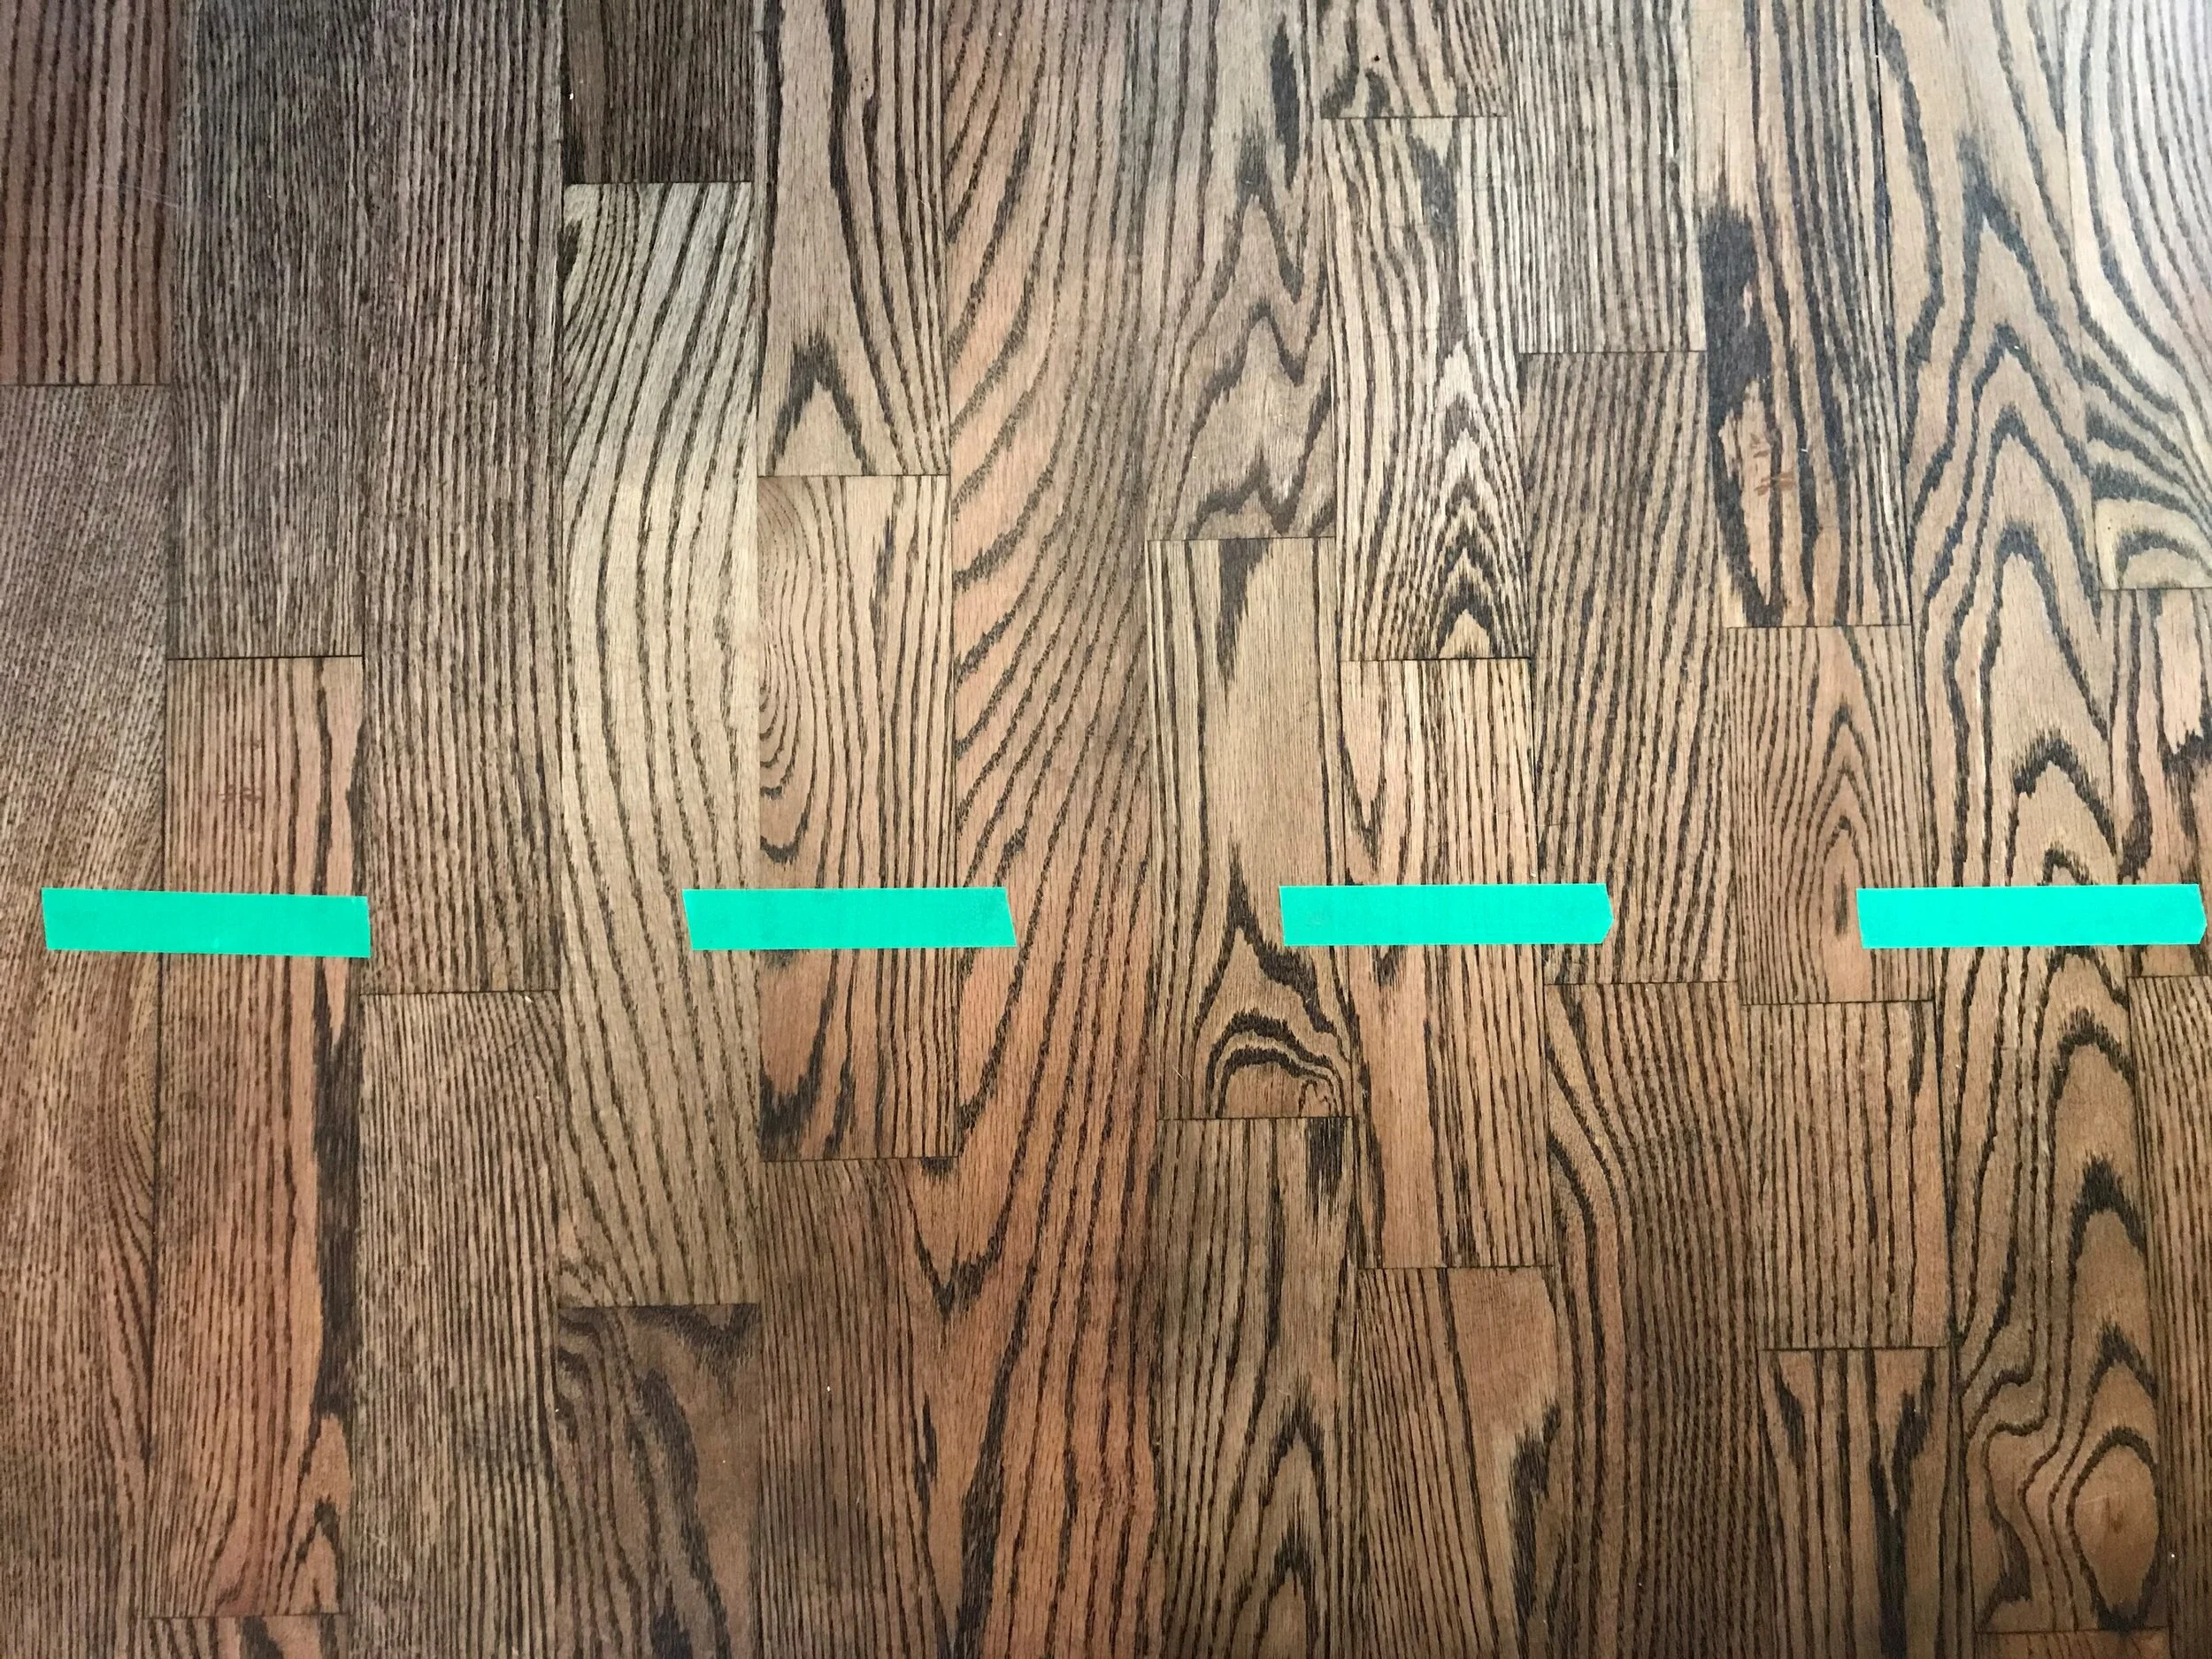
Painter’s tape ( so it won’t leave a residue on your floor)
DIRECTIONS
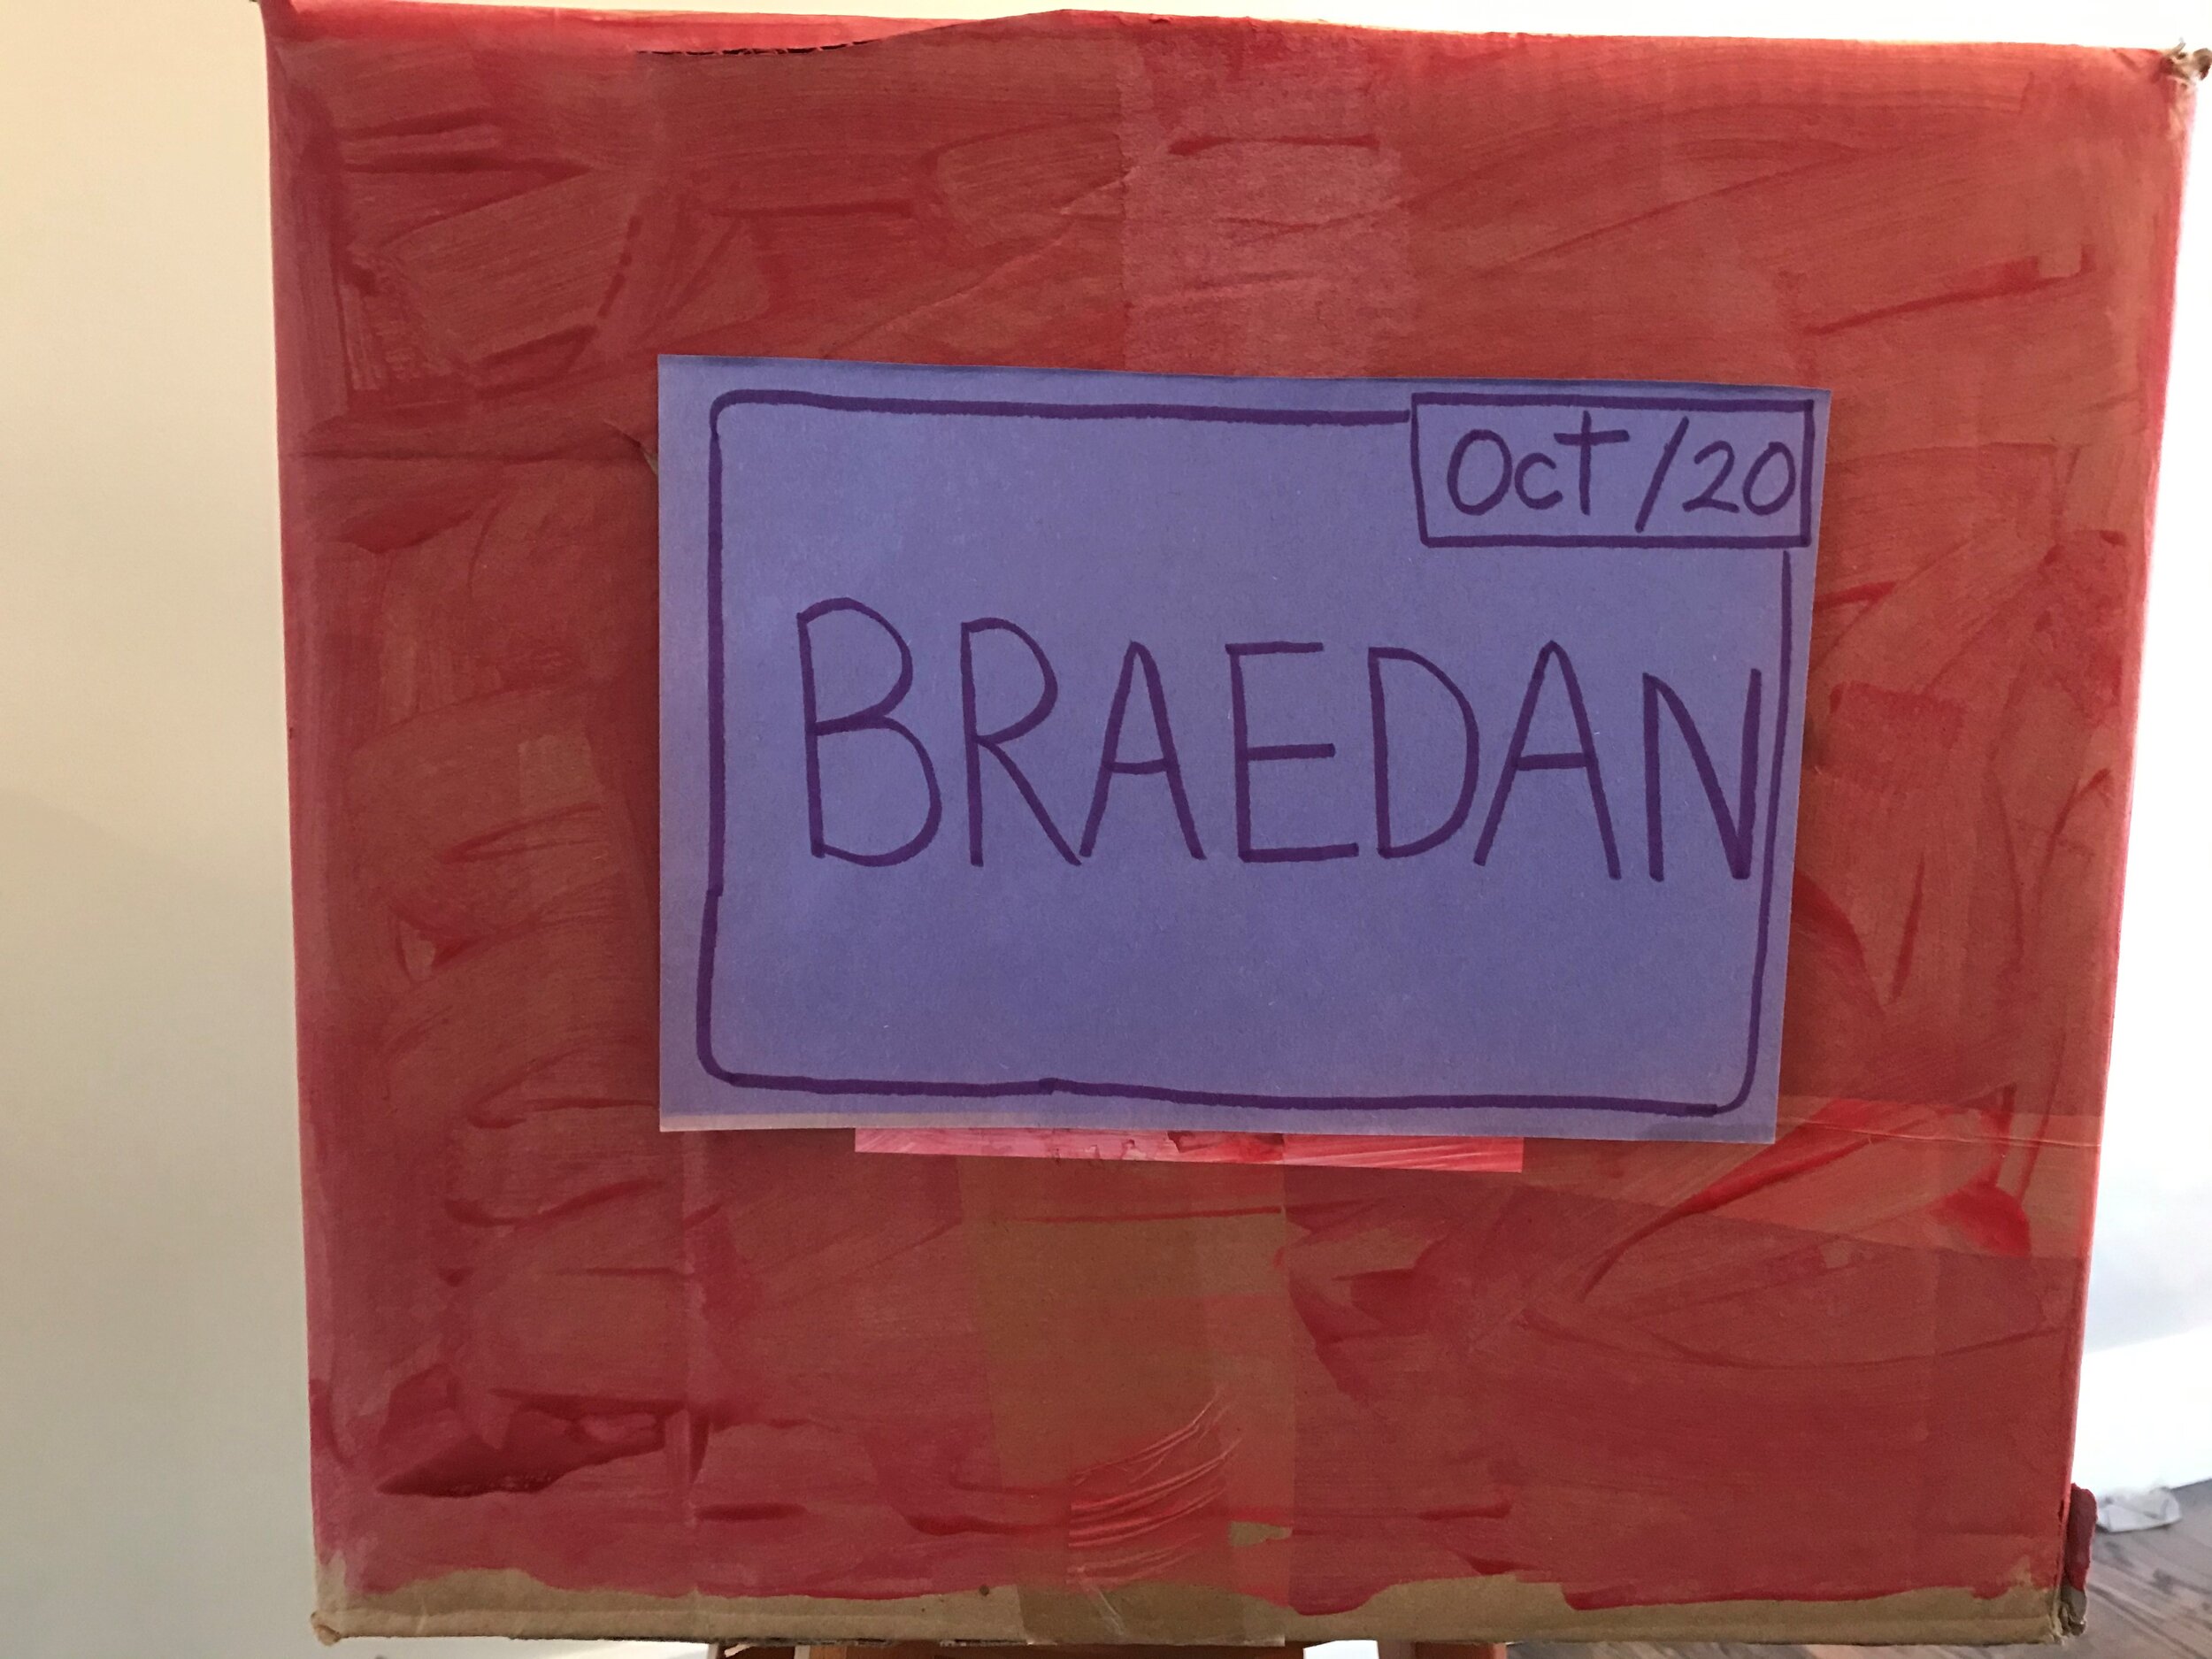
Help your child choose their favourite vehicle - car, train, bus etc.
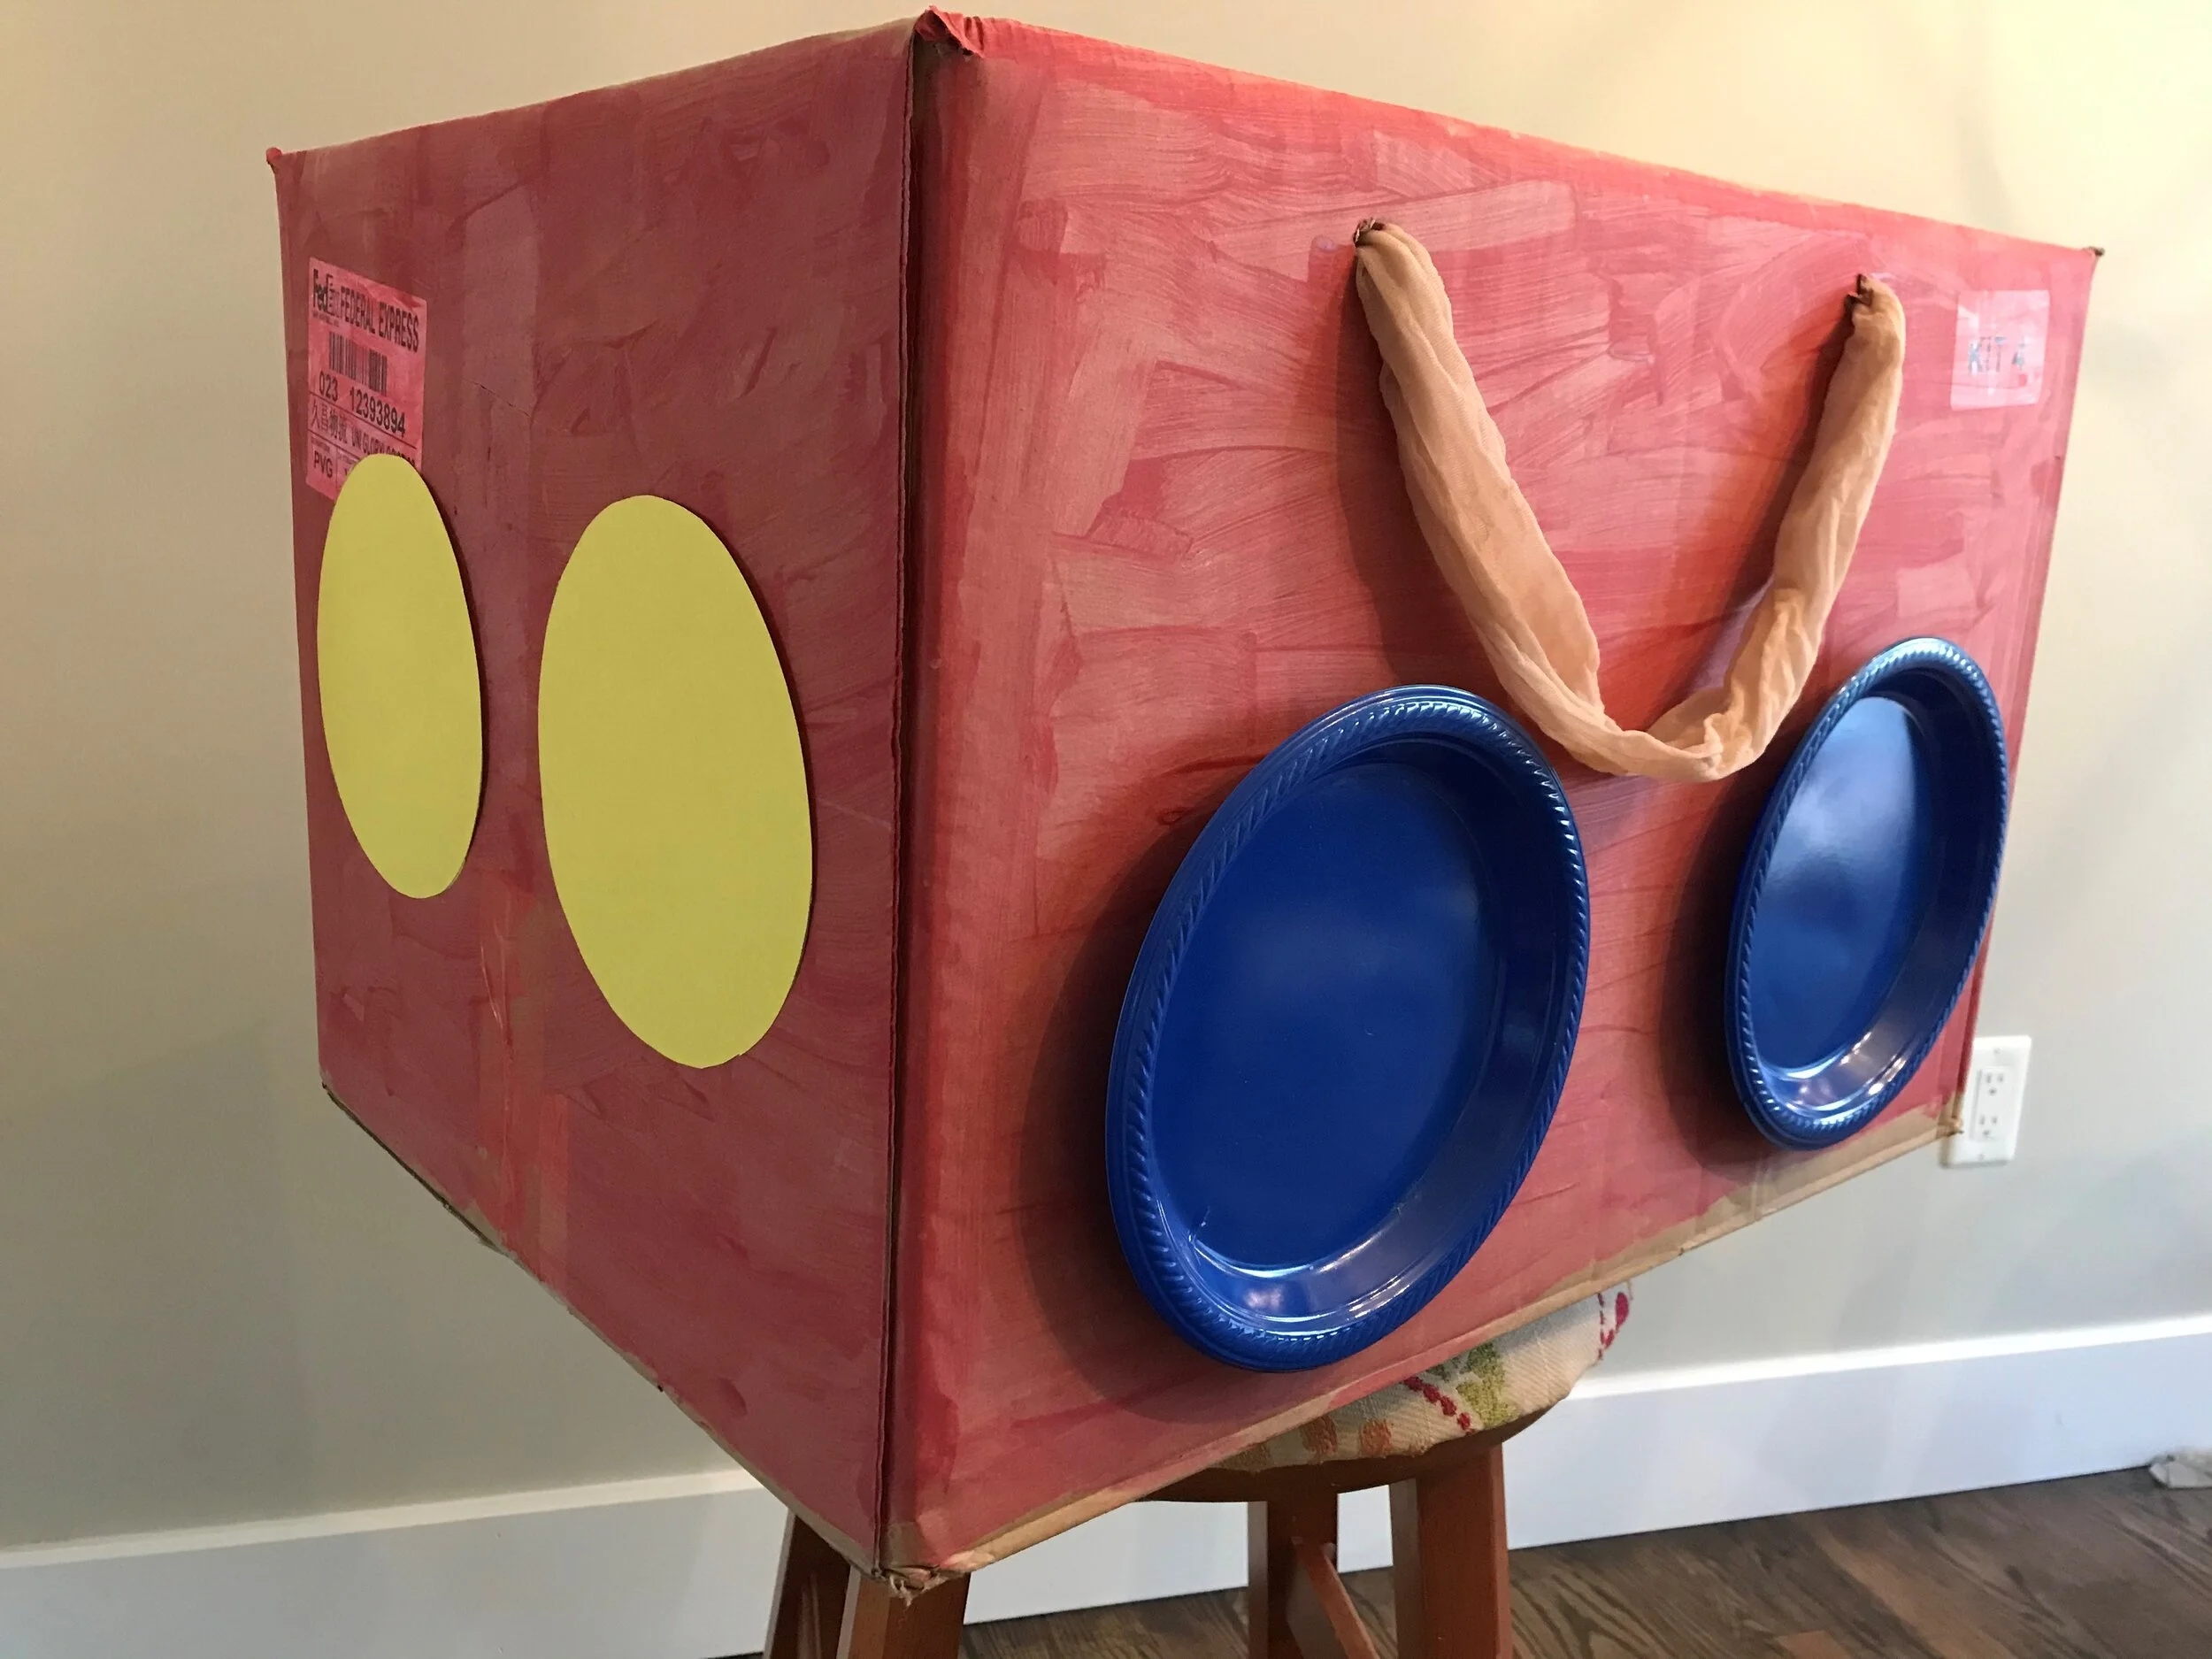
Cut off or fold down top and bottom of the box to create a ‘hollow’ square that your child can wear around their body.
Encourage them to colour , paint or decorate the outside of their vehicle however they like
Make 2 holes on each side of the box near the top ( spaced out from each other
Tie a ribbon or old cut pantyhose on each side to create shoulder straps ( be sure to measure on your child before you tie them for a good fit)
Create head lights and brake lights and glue them to the front and back
Glue on your wheels using either paper plates or construction paper
Mapping out your Course:
Do a practice walk with your child to plan out your ‘roadway’ before you stick down your tape ** be sure to avoid STAIRS **
Cut short pieces of painters tape
Let your child help stick down the roadway in a continuous line
Try to include turns to provide more interest
VARIATIONS
You can also create red, green and yellow signs to indicate stop, go or slow down
You can use the tape without the box car and just ask your child to move along the tape line in different ways ie: crawling / hopping/ jumping/ slow / fast
Take your vehicle outdoors and let them drive around without tape ( they could use sticks or rocks to make a road
Remember to use words like , “go forward, turn the corner , look both ways” etc.
Reverse roles and you wear the car while your child gives directions
As always, the most important thing is to have fun !
Written by Debra Howard, Parent Support Coach & Community Connector


